Installation
All downloads are linked from audionaut.app.
macOS
Grab the disk image (Audionaut-<version>-arm64.dmg) from
GitHub Releases, open it
and drag Audionaut into Applications. The disk image is signed and
notarized, so macOS opens it without warnings, and it is always the newest
version. Alternatively, install Audionaut App from the
Mac App Store, where new
versions arrive a little later. Both builds need macOS 13 or newer on Apple
silicon and share the same settings.
Building the GPL version from source with Xcode is also supported — follow the Checkout and Build sections of the repository README.
Windows
Download the installer (Audionaut-<version>-Setup.exe) from
GitHub Releases and run
it. The installer is not yet code-signed, so Windows SmartScreen may warn on
first launch — choose More info → Run anyway.
Linux
Pick one of the two formats offered on GitHub Releases — whichever suits your distribution:
- AppImage (
Audionaut-<version>-x86_64.AppImage) — runs anywhere, no installation needed; make it executable (chmod +x) and run it. - Debian package (
.deb) — for Debian/Ubuntu and derivatives; install with apt, which also resolves dependencies:sudo apt install ./audionaut_<version>_amd64.deb.
First launch
Two things happen the first time you start Audionaut:
- Usage statistics consent. Audionaut asks whether it may report anonymous usage statistics. Nothing is sent unless you agree, and you can change your answer anytime in Settings → Privacy. See Privacy for exactly what this covers.
- Audio device. Check Settings → Audio to pick your output (and, for recording, input) device, sample rate and buffer size.
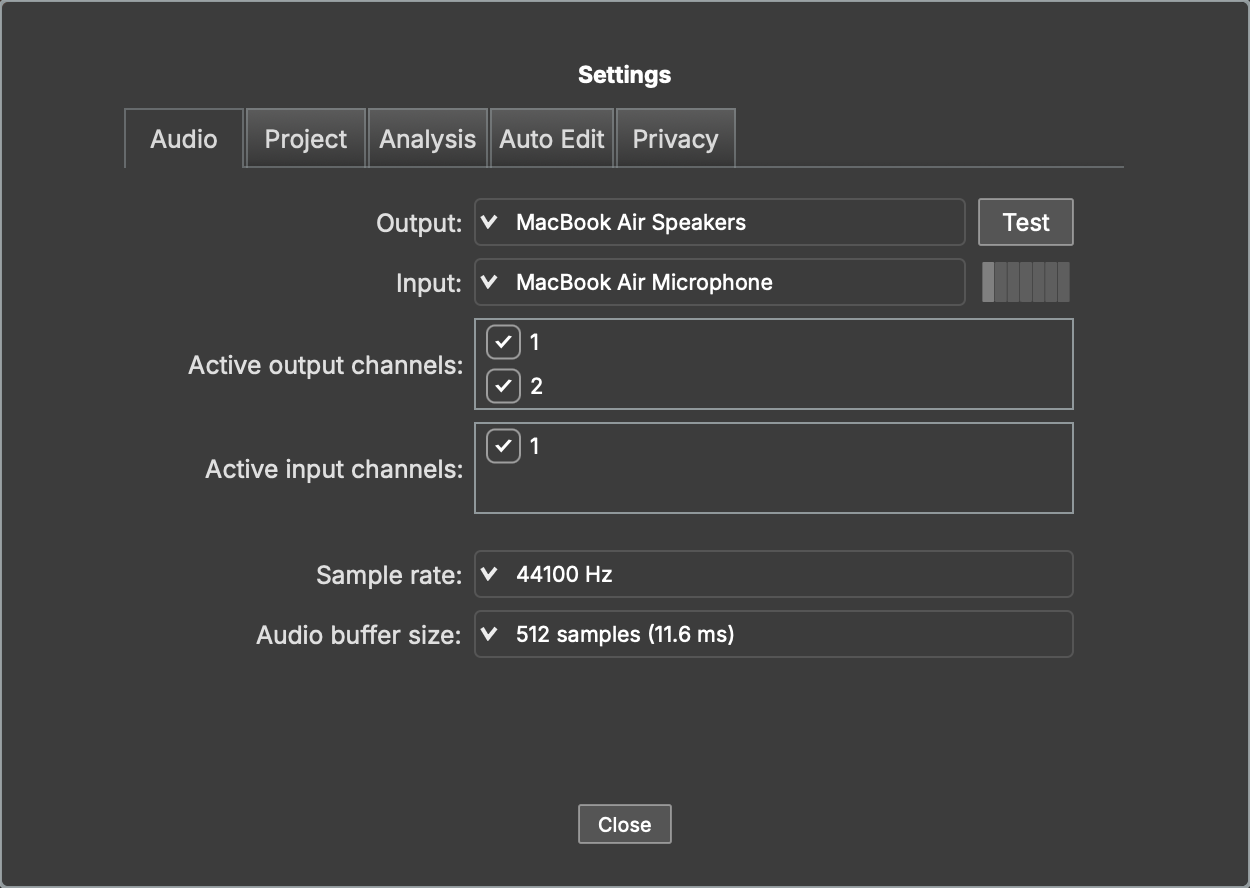
On macOS, Settings… is in the application menu (Cmd+,); on Windows and Linux it is in the File menu.